How To Repair A Damaged Dryer Drum: Simple DIY Fixes
If you're a homeowner, chances are you've experienced a broken dryer drum at least once. It's frustrating and can put a damper on your laundry routine, but fear not! With a few simple repairs, you can have your dryer up and running in no time. In this post, we'll go over everything you need to know to safely remove and repair a dryer drum.
How to Safely Remove the Dryer Drum When Making Repairs

Before you begin any repairs on your dryer drum, it's crucial to know how to safely remove it. Here's how:
- Unplug your dryer from the electrical outlet.
- Remove the front panel of the dryer.
- Disconnect the wires that connect to the door switch.
- Remove the screws that secure the drum to the dryer's back panel.
- Slowly and carefully lift the drum out of the dryer.
Now that you've safely removed the drum, you can get to work on any necessary repairs.
Hotpoint Tumble Dryer Drum Bearing Repair Kit
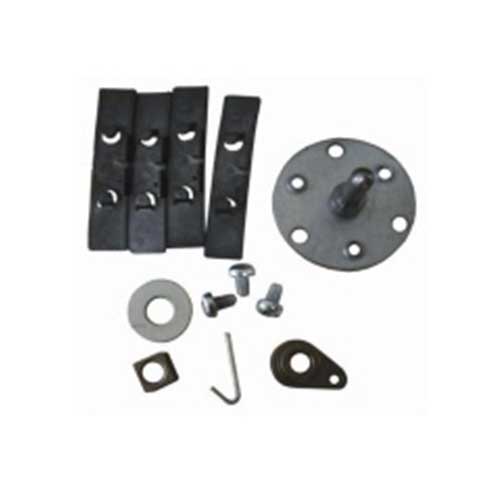
If you're dealing with a broken drum bearing in your Hotpoint tumble dryer, you may need to purchase a repair kit. Here's what you'll need to do:
- Remove the top panel of your Hotpoint tumble dryer.
- Remove the front panel of your Hotpoint tumble dryer.
- Remove the drum from your Hotpoint tumble dryer (see above for instructions).
- Remove the rear panel of your Hotpoint tumble dryer.
- Using a wrench, remove the bolt that holds the drum shaft in place.
- Remove the old drum bearings and replace them with the new bearings in the repair kit.
- Put your Hotpoint tumble dryer back together and test it out.
How to Repair Damaged Drum Heads

Drummers, listen up! If you've noticed any damage to your drum heads, you don't need to replace them altogether. Follow these steps to repair them:
- Remove the damaged drum head from your drum.
- Clean the edge of the drum where the head sits with rubbing alcohol.
- Apply a small amount of wood glue around the edge of the drum where the head sits.
- Place the new drum head onto the drum and center it.
- Leave the drum head to dry for at least 24 hours.
- Tune your drum and get back to jamming out!
With these easy-to-follow repair steps, you'll have your dryer or drum looking and functioning like new in no time. Say goodbye to frustration and hello to a fully functioning appliance or instrument. Happy repairing!
